A worked Kerfloom example
Design a laser-cut radiator cover.
Start with a 600 × 400 mm panel. Give it a 35 mm frame, a honeycomb opening pattern, and four mounting holes that stay aligned when you resize the design.
This is a digital design example, not a tested installation. Check your radiator’s clearances, airflow needs, material, mounting method, and local safety guidance before cutting or fitting a cover.
Open StudioIn Studio, choose Radiator cover from the starter designs.
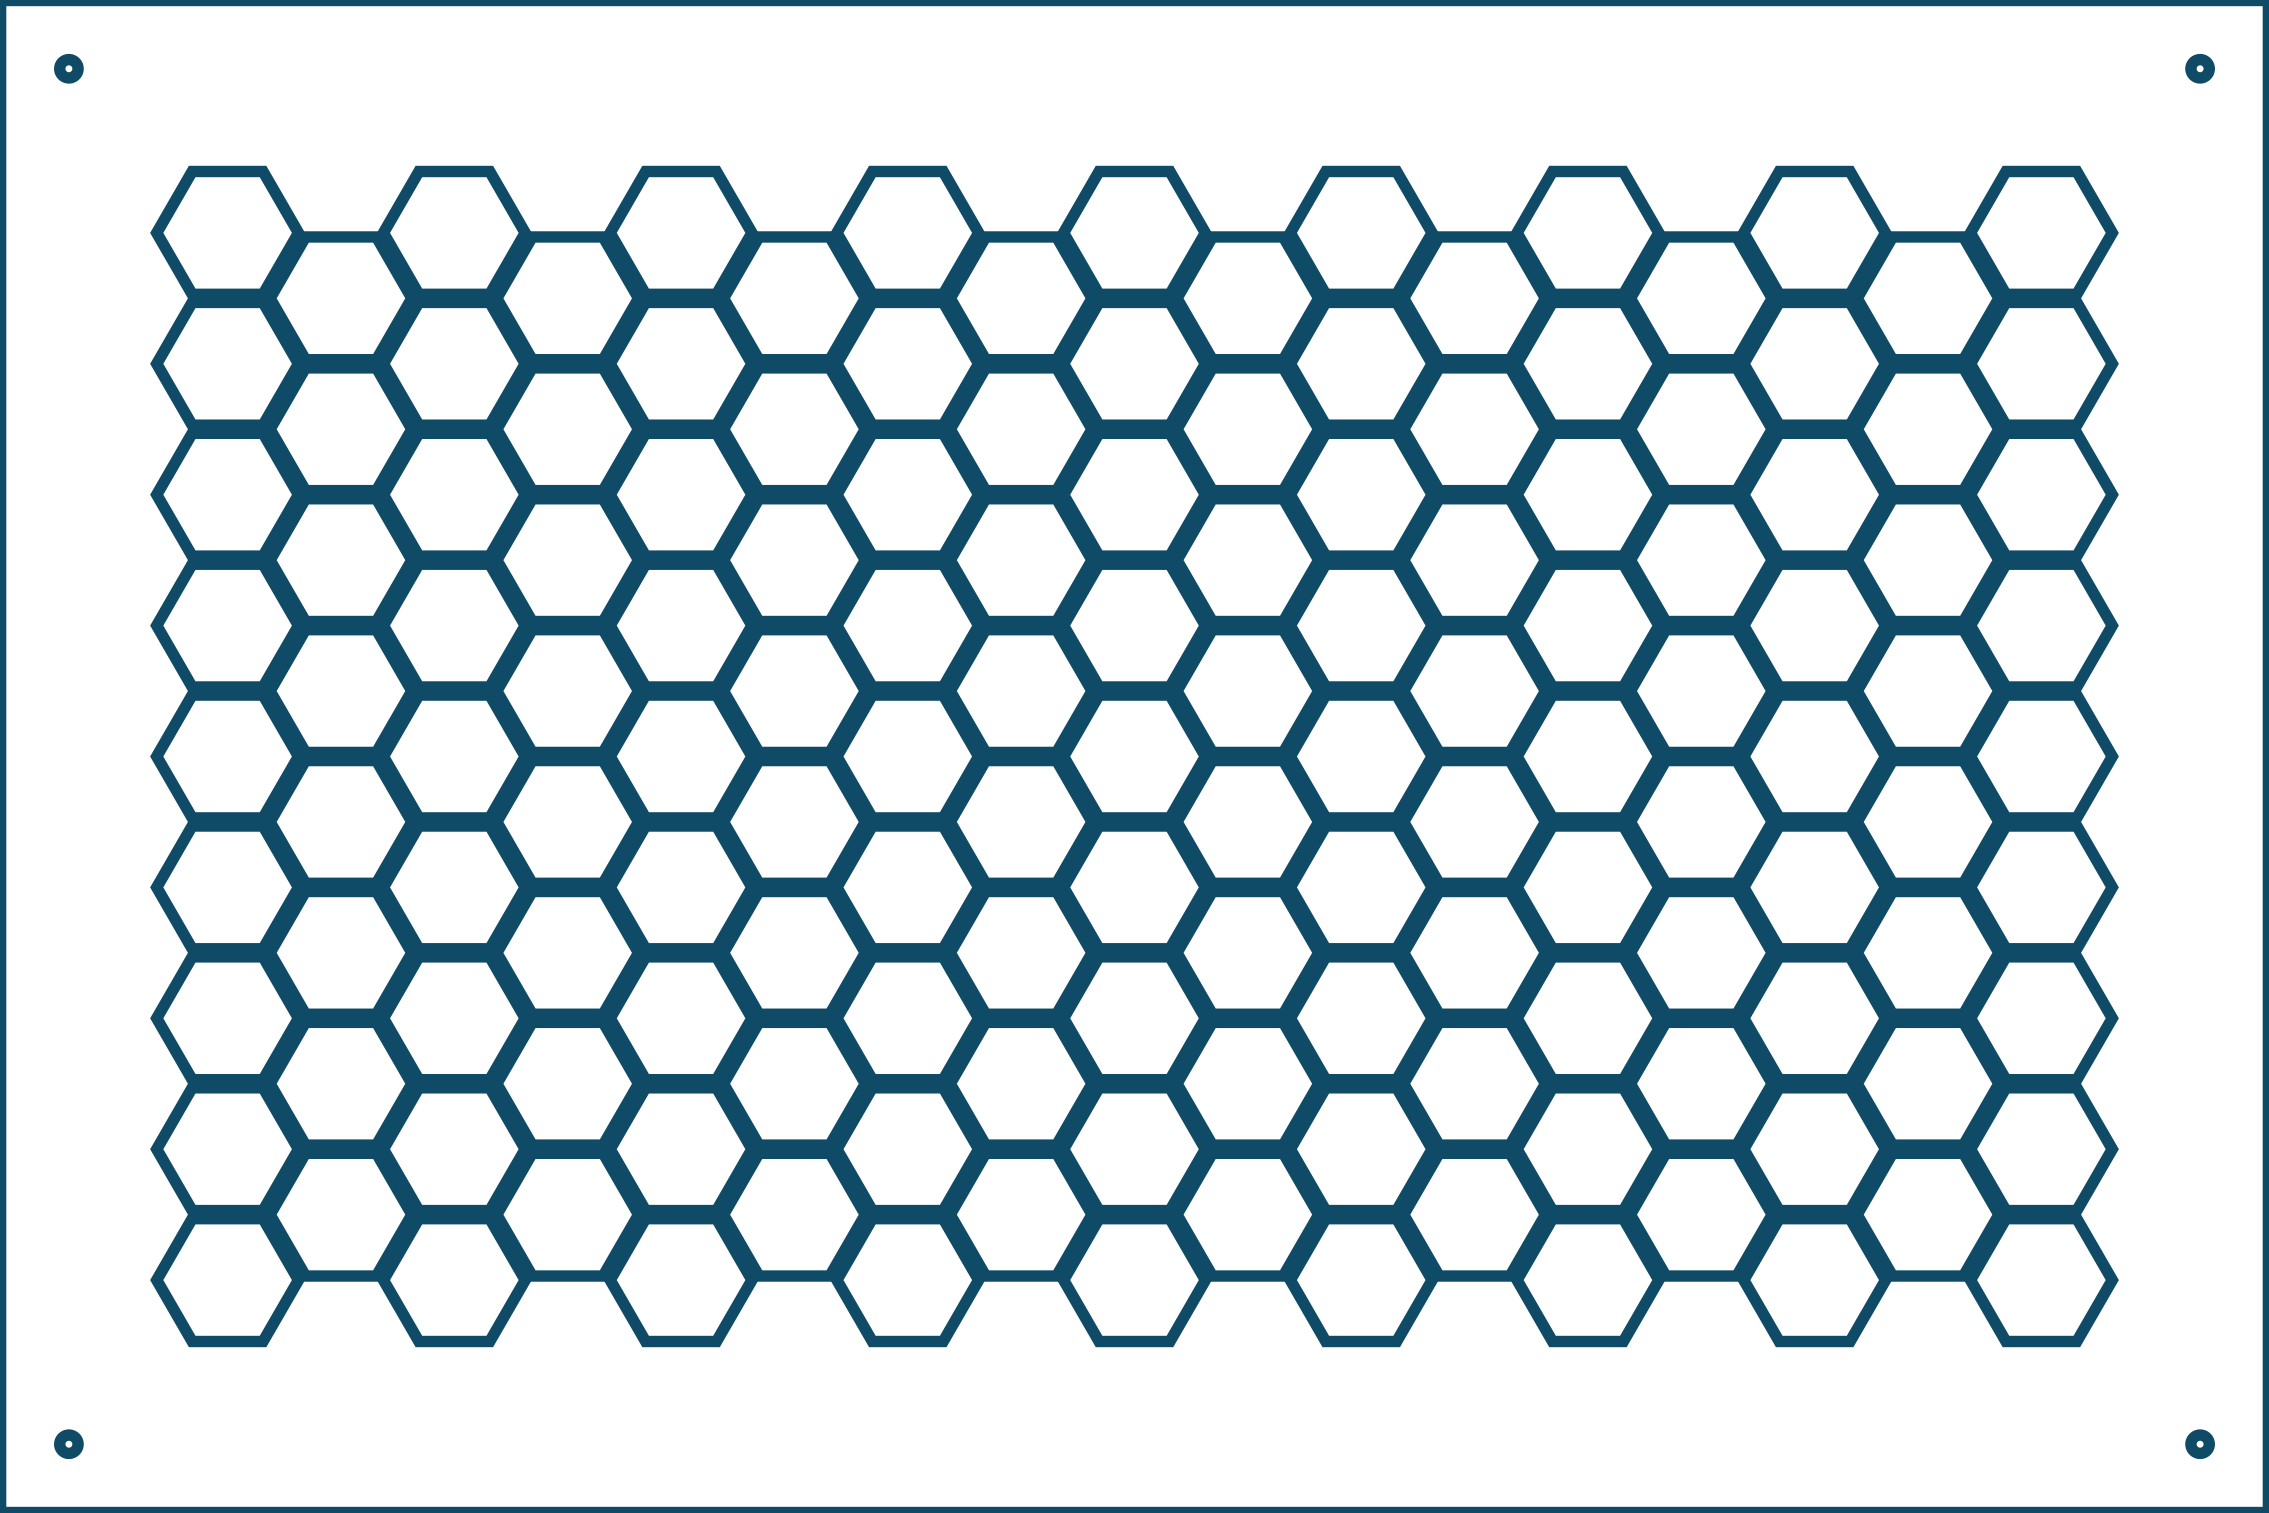
The starting setup
These values are editable. They are an example to adapt to your measured opening—not recommended dimensions for every radiator.
- Panel
- 600 × 400 mm · rectangle
- Pattern
- Honeycomb · 40 mm cells
- Frame
- 35 mm border · 2 mm web setting
- Fixing points
- Four 5 mm holes · 18 mm from each adjacent edge
Make it fit your opening
Measure the space
Record the finished panel size and where the fixings can go. Account for the frame, wall or cabinet opening, and any required clearance around the radiator.
Choose the Radiator cover starter
Open Studio and select Radiator cover. Change the panel dimensions, honeycomb spacing, and border. The pattern regenerates from those parameters.
Place the mounting holes
The starter has four linked, edge-anchored holes. Adjust the layout as a group, then confirm each hole lands on usable material with enough space to the edge.
Review, then export
Choose a material profile and review Kerfloom’s cut-safety findings. Resolve any errors, inspect warnings, and export SVG or DXF for your laser software. Save the project if you expect to make another size.
What the checks do—and don’t—tell you
Kerfloom checks the generated geometry against its material-profile settings, including narrow webs, hole size, cut spacing, overlap, and connectivity. A passing digital check does not certify heat resistance, airflow, mounting strength, clearances, or suitability for a particular radiator. Use material and installation guidance for the real object, and test a sample before production.
Try the editable starter in Studio →